At Rocket we've developed many apps that need to support iPhone and iPad. Xcode provides built-in support for configuring universal apps, meaning that a single binary can adapt to, and be optimized for, both device types. But as is with any design pattern, making your app universal has its pros and cons.
The Benefits
- There is a single codebase. Code can be reused for the functionality that overlaps the iPhone and iPad versions of the app. A bug fixed in one app is a bug fixed in both. This also means that there is less code to maintain overall.
- The use of size classes. In cases where functionality is used by both device types, Xcode’s size classes allow the developer to implement the UI for both screen sizes within a single view controller. The layout for the different screen sizes is then automatically adjusted at runtime.
- The user doesn’t need to download (or pay for) two apps. iCloud synchronizes your user’s purchases across all of their devices. Therefore, a universal app downloaded onto your user’s iPhone will be downloaded onto their iPad as well.
- Fewer app submissions. Since universal apps are created within a single package, you don’t need to submit two packages to the App Store like you would if you created separate apps for both device types.
The Drawbacks
- The codebase can be more complex. The more that the UI or functionality differs between the two device types, the more conditional statements are needed. This can make the code hard to follow when debugging or for developers new to the project.
- The differences in functionality need to be explained to the user. Since there is a single submission to the App Store, the description of the app needs to brief your users on which features are iPad-only or iPhone-only.
- If you’re using Storyboards, size classes make them more complex. Constraints are hidden depending on which device type you are viewing within the Storyboard. These hidden constraints also make it more difficult to add/remove controls to/from the UI.
- The price for paid apps must be the same for both device types. If the iPad version of your app contains considerably more functionality than the iPhone version, you cannot charge more for your users to download it since your users are technically downloading the same app package.
Our recommendation would be to build a universal app if you need to support both iPhone and iPad. The benefits of having a single codebase and submitting to the App Store only once have far outweighed the drawbacks, in our experience. We have also found that it’s rare for the iPad functionality to be so different that it warrants building an entirely separate app.
Universal apps are also the industry standard, with almost every top app in the App Store being universal (Netflix, YouTube, Facebook, Spotify, Twitter, etc.). You can check if an app is universal by looking at the app’s “download” button within the App Store. If the button contains a “+” within the top-left corner, then the app is universal. Within iTunes, the app’s details page will also note that “this app is designed for both iPhone and iPad”.
![]()
How to Implement
If you’ve determined that the benefits of a universal app outweigh the costs, then you have three choices for how to implement the UI for the two device types:
- Create two view controllers for the two device types (e.g.
FooViewControllerandTabletFooViewController)
- Create one view controller that is shared by the two device types and adjust the UI layout within the code
- Create one view controller that is shared by the two device types and adjust the UI layout using size classes
Two Separate View Controllers
This is the best option when your app has a very different UI and/or feature set on the iPad than it does on the iPhone. It does require writing a bit more code, but we've found that patterns like MVVM or protocol extensions can be used to maximize code reused between the VCs.
Going this route means that you will be creating, essentially, two separate apps within a single binary. You need to create separate views and controllers for the iPhone and iPad, and then determine which version of the code to run when the app launches. A clean way to accomplish this is by using the coordinator pattern within the AppDelegate.
Adjust the Controls within the View Controller
This is the best option for when your app has only a small number of differences between the UI and feature set for the two device types.
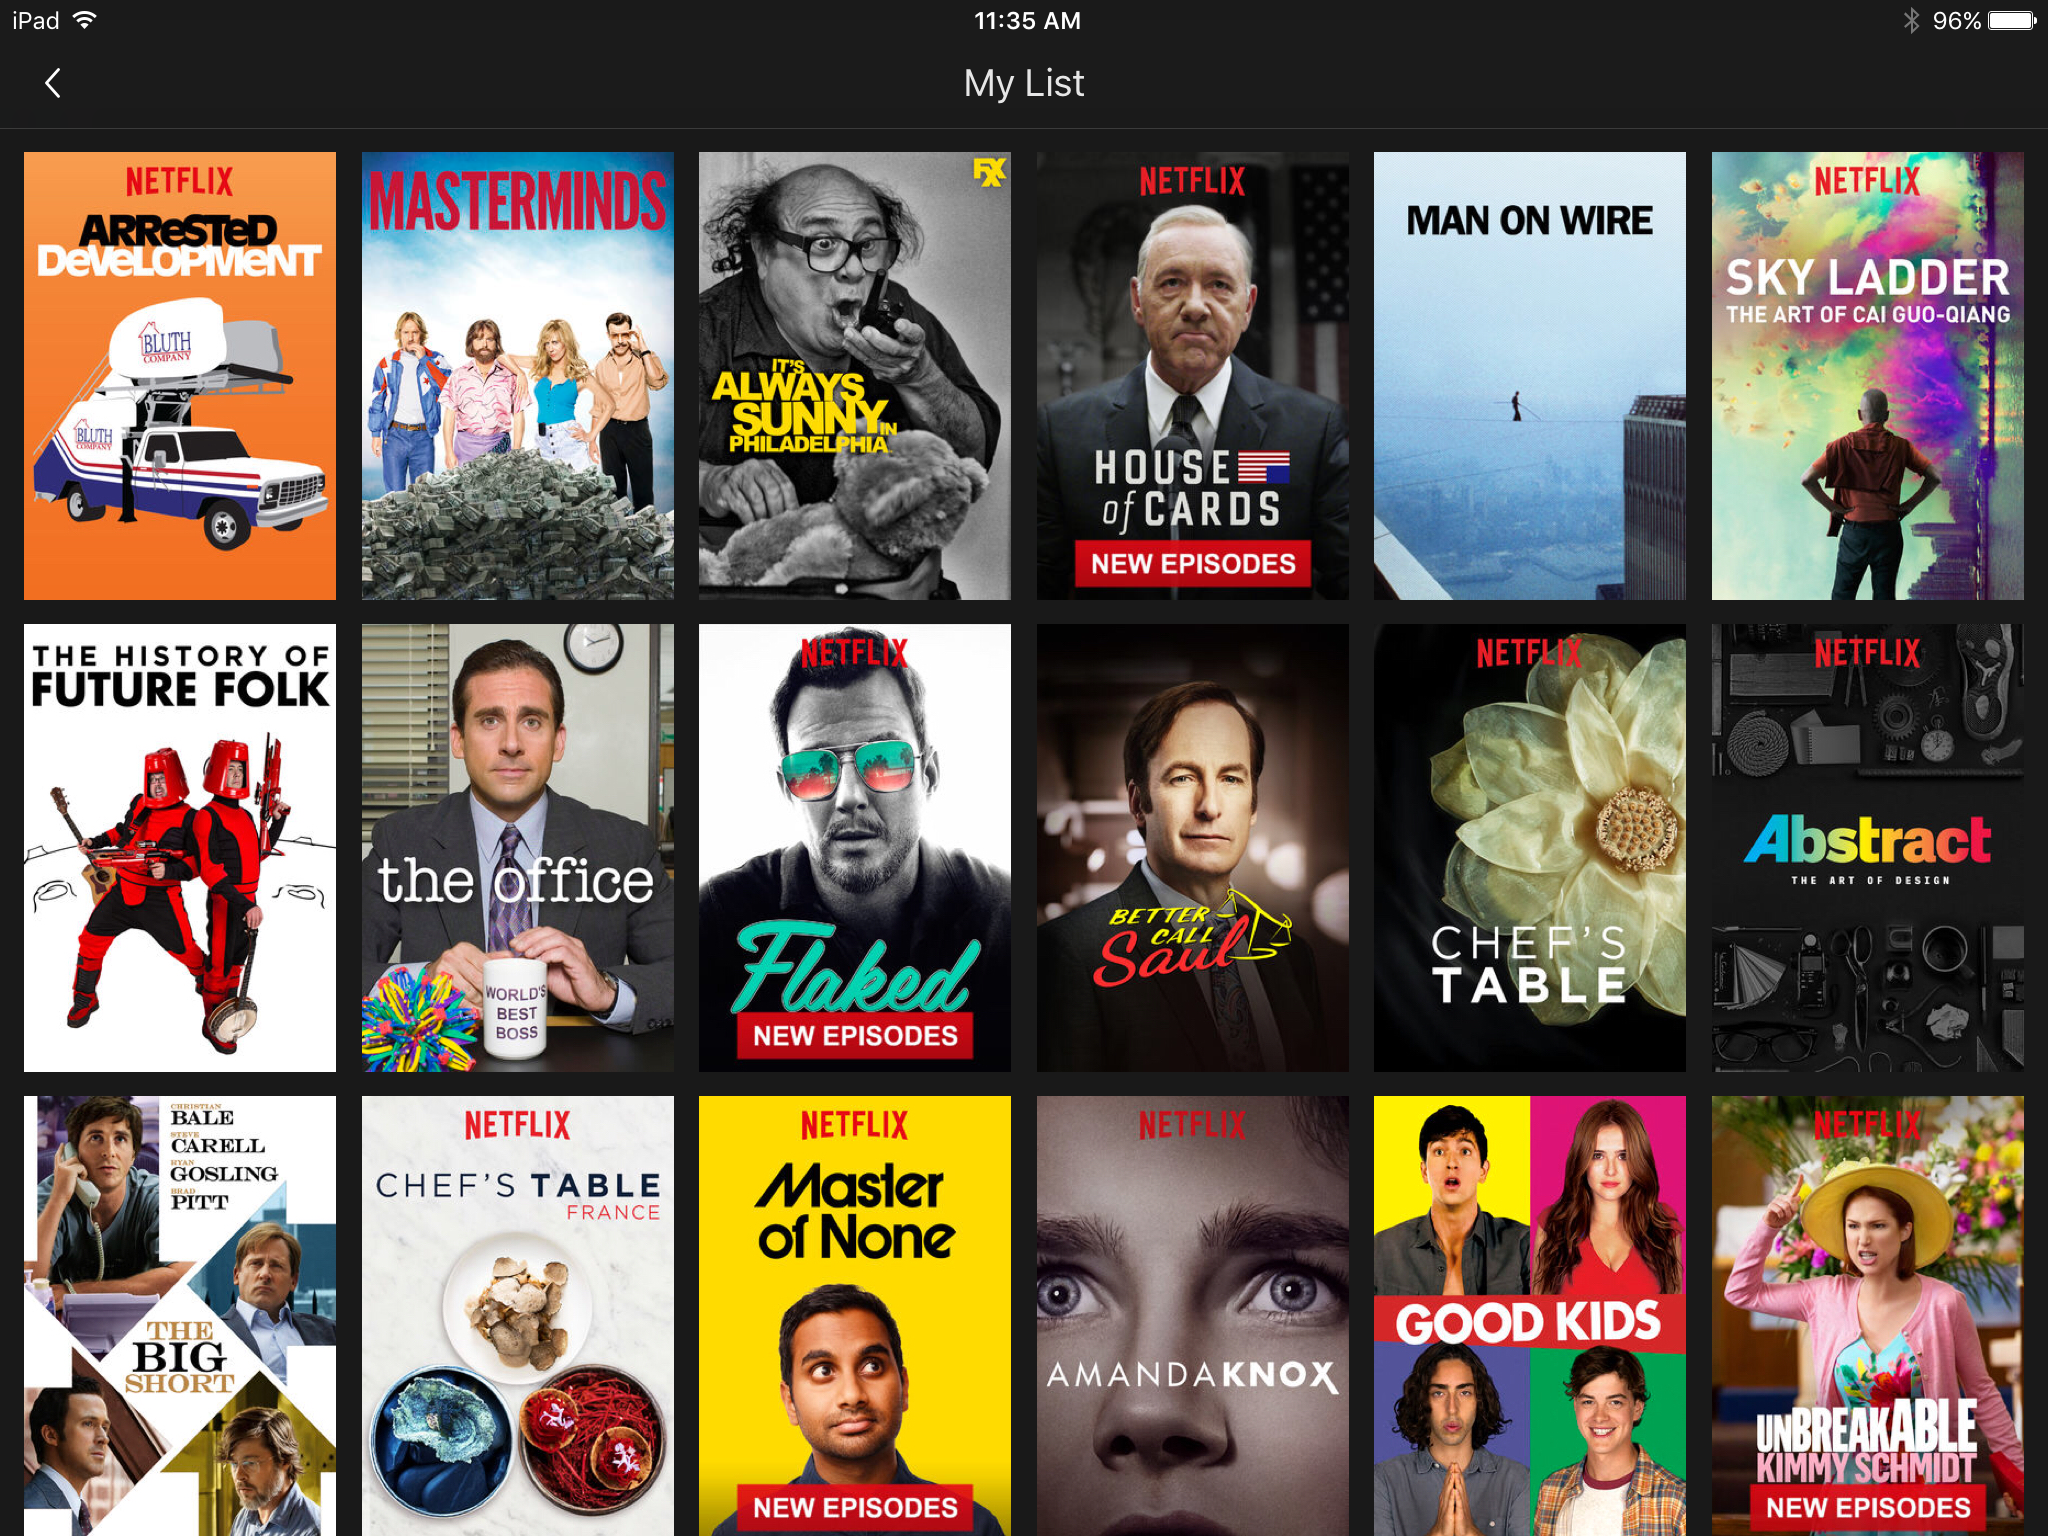
In this case, it’s easiest to create your UI within the Storyboard for one of the device types, and then adjust the layout/controls at runtime within the controller. For example, this implementation could be used in the Netflix app for the layout of the "My List" screen. The app could have a UICollectionViewController that displays its cells with three columns on the iPhone and six columns on the iPad. That layout could be easily adjusted by changing the collectionView.collectionViewLayout within viewDidLoad().

Adjust the Layout within the Storyboard
This is the best option when the controls within the app’s UI are identical for both device types, but only their layout needs changing.
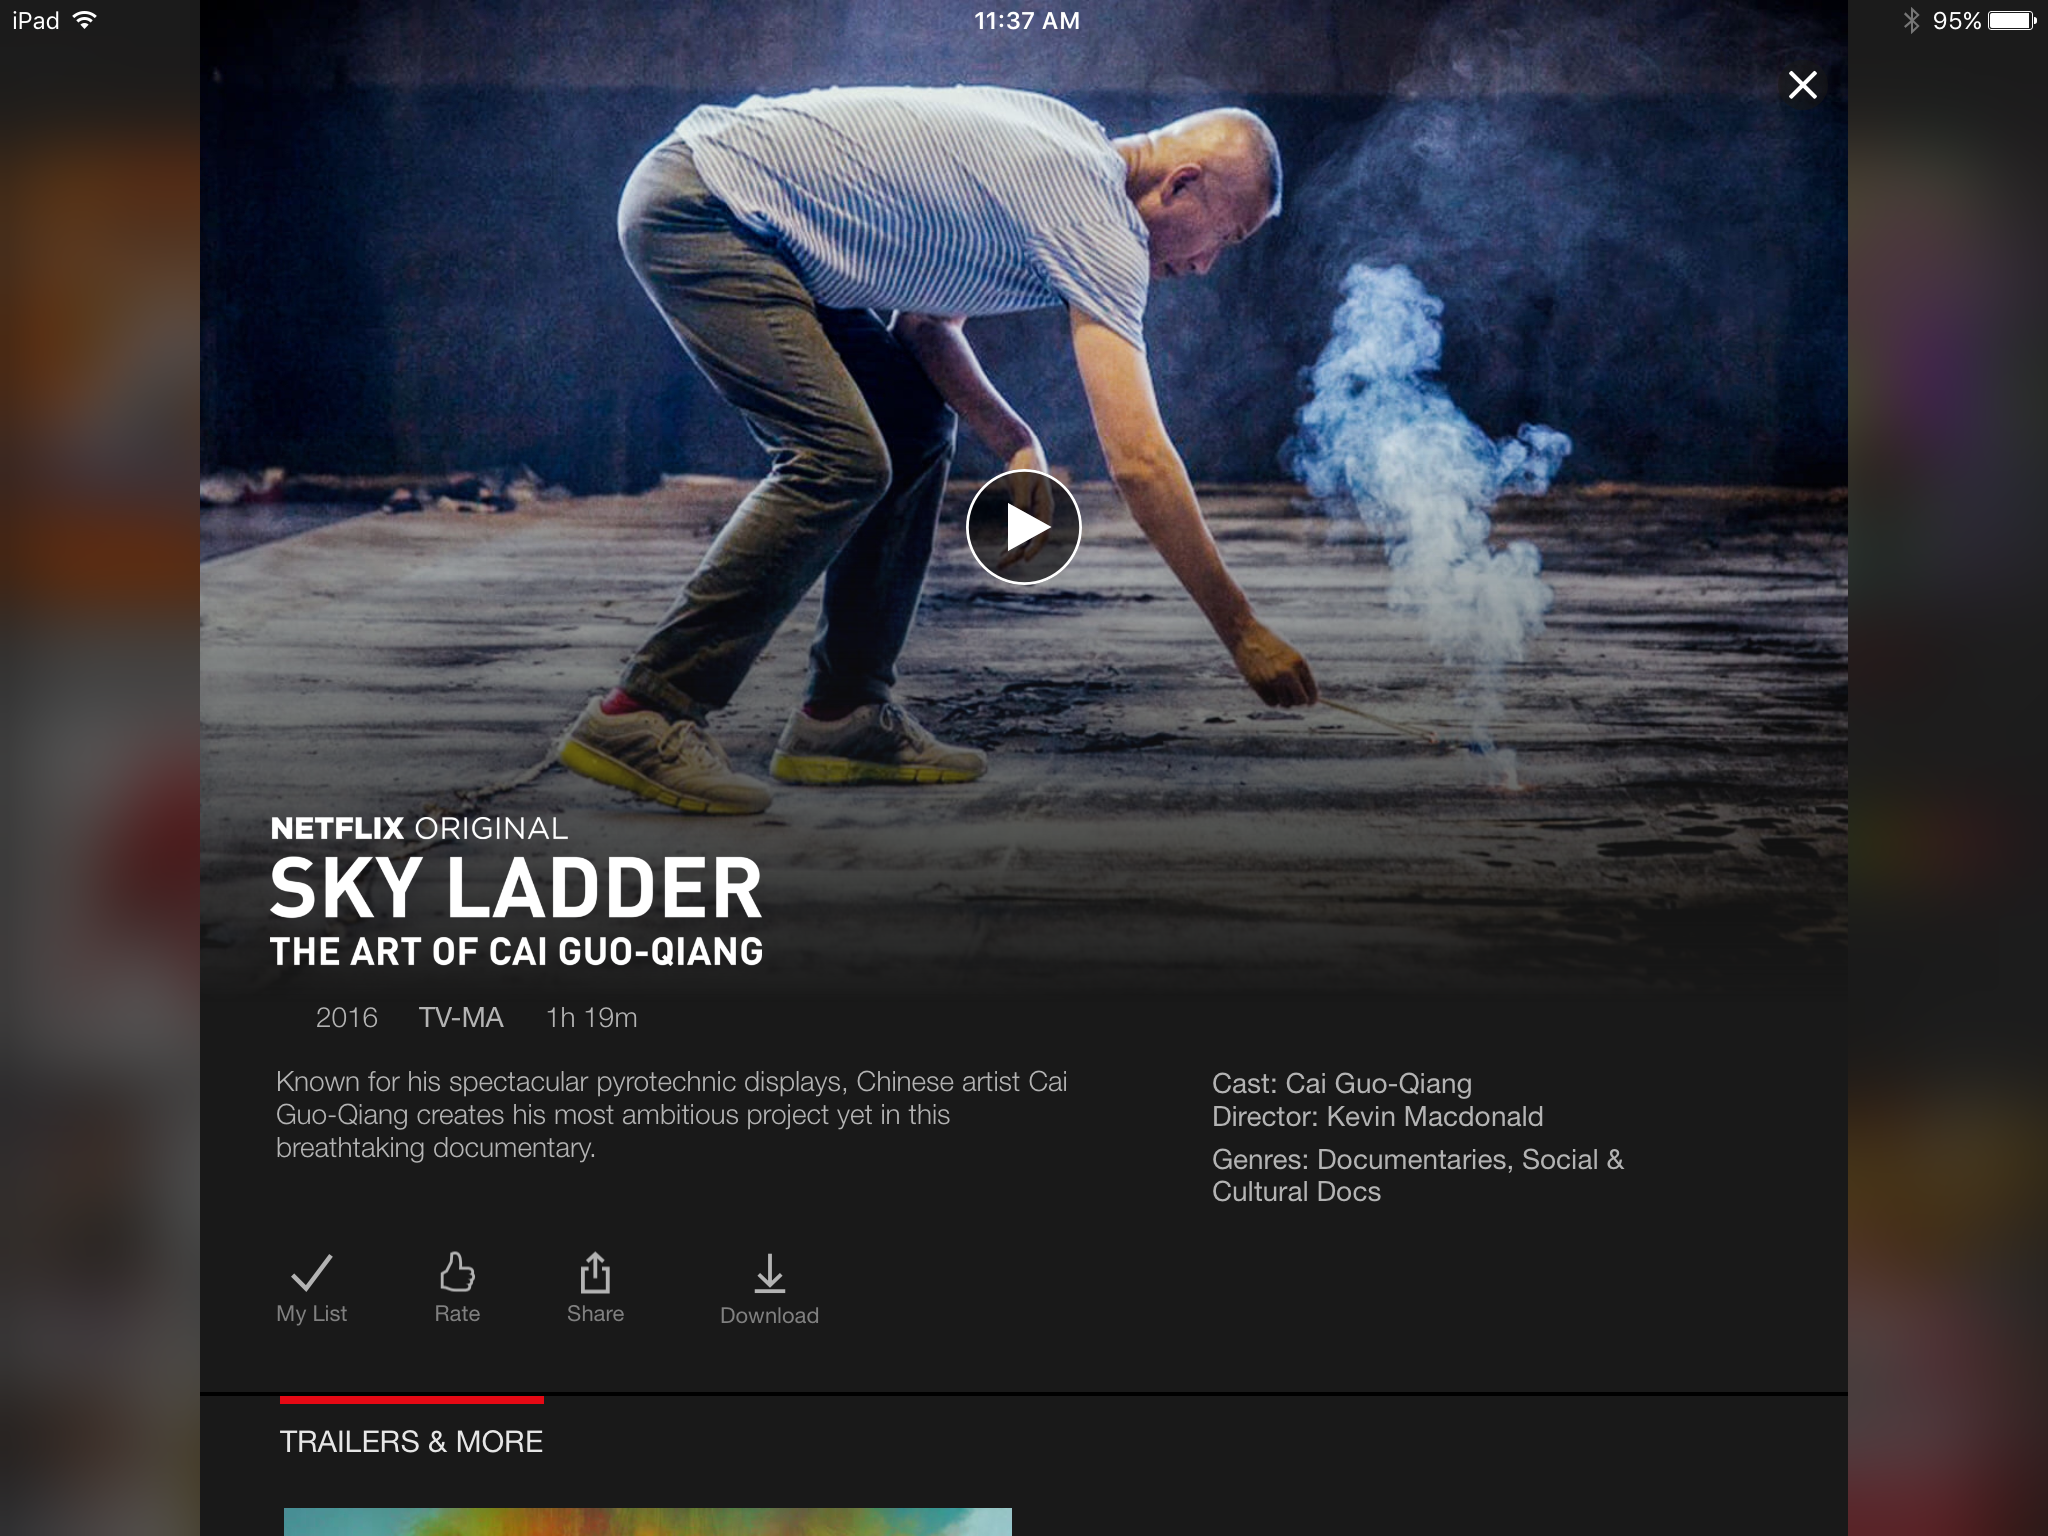
This implementation doesn’t involve any code, and you can adjust the constraints using Xcode’s size classes. You can modify the constraints (or remove them entirely) depending on the width or height (or both) of the device. This approach could be used for the video details screen in the Netflix app.

Mix and Match
Some smaller apps can get away with using just one of the above implementations for all of its UI. But for an app the size of something like Netflix, we believe that using a combination of the three implementations creates a great balance between efficient and maintainable code. When using this mix-and-match approach, you can expect about 40% of your screens to not need any device-specific UI adjustments (and just let autolayout do its thing), 30% to use code adjustments within the View Controller, 25% to need two separate view controllers, and 5% to rely on size classes.