Note: This is the first in a series of posts on teams working together better. We'll be discussing issues around that important moment when your team starts a new project and you need to set the technical direction, establish a sound architectural foundation, and ensure consistency.
Here is a tip for ensuring color consistency across an iOS project.
Argh! Colors!
As a man once famously said, 'Argh! Colors!'. They can be frustrating to get right! Here is what an iOS project usually looks like:
- Designer generates visuals and delivers a PSD/Sketch file to the engineers.
- The engineers take the PSD/Sketch file and extract RGB colors from it.
- The engineer then applies this RGB color in interface builder to the UI.
Sad designer
The problem with these steps are several fold:
- If the engineer is pulling the color from a rasterized image then depending upon where they pull the color from it may be an incorrect value from what the designer intended. This is especially problematic with lines and other thin images.
- As the same color is used across multiple screens in the project different engineers extract the colors slightly differently. This results in incorrect colors being used across the app.
This makes your designer feel like this:

Happy designer
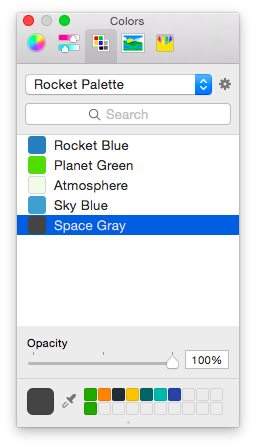
Xcode allows you to define your own palette which will then be available in interface builder. You can share this palette with the team. This ensures that colors are consistent across the project. It also makes it much easier to develop as you don't need to determine/transpose color values every time. You can simply select from a drop down.
Here is what you do.
- Obtain a set of RGB values from your designer. Ensure these values are extracted as generic RGB and not sRGB.
- Click on any component that allows you to set a color and switch to the slider color entry.
- Enter the red, green and blue values. You'll notice that the swatch on the bottom left hand side has changed colors to reflect the entered values.
- Switch to the palette entry.
- Click the gear icon to the right of the top drop down and select new. This will create a new palette named, 'Unnamed'.
- Click the gear icon again and select rename. Rename your palette to something that is appropriate for you.
- Drag the color swatch from the lower left hand corner into the list of colors.
- Double-click into the color that you just dragged to rename it from Unnamed.
Your new Color Palette is now located in your ~/Library/Colors directory. E.g.,
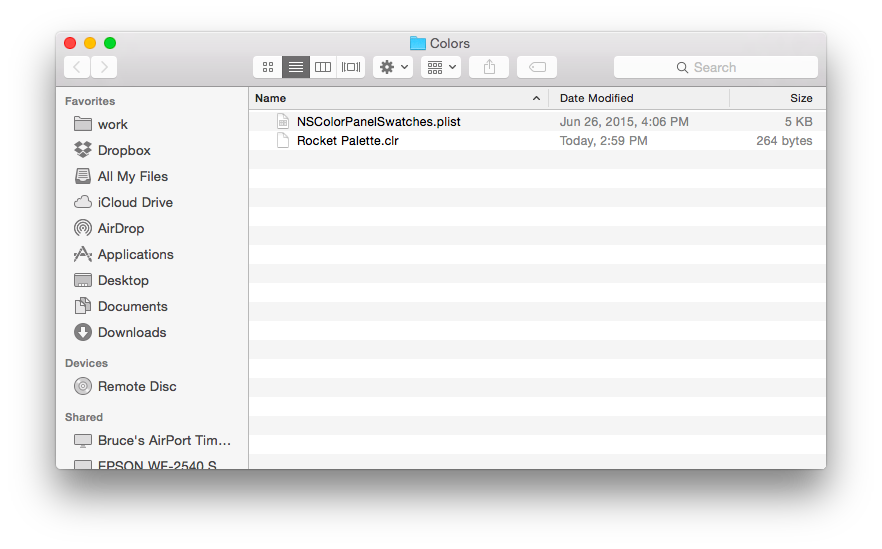
You can share this file with your team and have them drop it in their ~/Library/Colors directory to pick-up this palette.
Note: The Library directory is not visible by default on the mac. The way we navigated to this directory was to go into the terminal and do:
cd ~/Library/Colorsopen .